How to build a WordPress website from scratch

We’ll discuss here how to build a WordPress website from scratch using simple steps. To create a WordPress website, you will need to follow these steps:
- Choose a hosting provider and purchase a domain name.
- Install WordPress on your hosting account.
- Choose and install a theme to design your website.
- Customize your website using widgets, menus, and pages.
- Install and configure necessary plugins to add functionality to your website.
- Create and publish your website’s content.
Now we’ll discuss these steps in detail.
Choose a hosting provider and purchase a domain name
When choosing a hosting provider, you should consider the following factors:
- Reliability: Look for a provider with a good reputation for uptime and stability.
- Price: Compare the costs of different providers and choose one that fits your budget.
- Features: Consider the features offered by the provider, such as the amount of storage and bandwidth, email accounts, and the ability to handle high traffic.
- Customer support: Make sure the provider offers a variety of support options, such as phone, email, and live chat.
When purchasing a domain name, you should:
- Choose a domain name that is memorable, easy to spell, and relevant to your website’s content.
- Check the availability of the domain name by using a domain name registrar.
- Purchase the domain name from a registrar, and consider additional features like private registration and auto-renewal.
- Once you’ve purchased your domain, you’ll need to point it to your hosting account, which is typically done through the registrar’s settings.
It’s worth noting that some hosting providers offer domain registration as part of their service package and some even give free domain for the first year. So, you can check those options as well.
Install WordPress on your hosting account
There are several ways to install WordPress, but the most common method is to use a one-click installer, such as Softaculous or Fantastico, provided by most hosting providers. Here are the general steps to install WordPress using a one-click installer:
- Log in to your hosting account and access the control panel.
- Look for the one-click installer or a similar tool, and select WordPress from the list of available options.
- Follow the prompts to select the domain where you want to install WordPress, and fill in your website’s name, admin username, and password.
- Click the “install” button to begin the installation process.
- Wait for the installation to complete, and then click the “view credentials” button to see your login URL and other details.
- Log in to your WordPress dashboard using the URL and credentials provided.
Alternatively, some hosting providers offer a guided setup process that will walk you through the installation. Additionally, WordPress can also be installed manually. If your hosting provider does not offer one-click installer or if you want to install manually, you can follow the steps provided by WordPress.org
Once installed, you can then customize your website using themes and plugins, and add content to your pages and posts.
How to choose and install a theme to design your website
Choosing and installing a theme to design your website on WordPress is a simple process:
- Log in to your WordPress dashboard and go to Appearance > Themes.
- You can either browse the existing themes by using the filter or search for specific features.
- Preview a theme by clicking on it and then activate it by clicking the “activate” button.
- If you want to use a theme that is not available in the WordPress repository, you can also upload a theme by clicking on the “Add New” button, then “Upload Theme” and select the theme’s zip file.
- Once you have activated your theme, you can start customizing it using the Theme Customizer, which allows you to make changes to your website’s layout, colors, and other settings.
It’s also worth noting that there are many free and premium themes available for WordPress, with their own set of features and design options. It’s important to choose a theme that is responsive, fast, and secure. It’s also good if the theme is regularly updated, and if it has good reviews and a good number of active installs.
Also, you can preview a theme before activating it, so you can have an idea of how it would look on your website, this way you can make a better decision.
How to Customize your website using widgets, menus, and pages
Customizing your website using widgets, menus, and pages on WordPress is an easy process:
- Widgets: Go to Appearance > Widgets in your WordPress dashboard. You can add, remove, and rearrange widgets in the sidebars and footers of your website.
- Menus: Go to Appearance > Menus in your WordPress dashboard. You can create custom menus and arrange the order of links in your website’s navigation.
- Pages: Go to Pages > Add New in your WordPress dashboard. You can create new pages, edit existing pages, and arrange the order of pages in your website’s navigation.
Widgets are small blocks of content that you can add to various sections of your website, such as sidebars, footers, and headers. These widgets could be text, images, forms, and many other elements.
Menus are the navigation links that appear on your website, such as the header and footer menu. You can create multiple menus and assign them to different locations on your website.
Pages are the main content of your website. You can create new pages, edit existing pages, and arrange the order of pages in your website’s navigation. You can also create child pages to create a hierarchical structure for your website.
It’s also worth noting that some themes include additional options for customizing your website, such as theme options, page templates, and shortcodes. These options can be found in the theme documentation or by exploring the theme’s settings in the WordPress Customizer.
It’s good to have a clear website structure and navigation in order to make it easy for visitors to find what they are looking for.
How to Install and configure necessary plugins to add functionality to your website
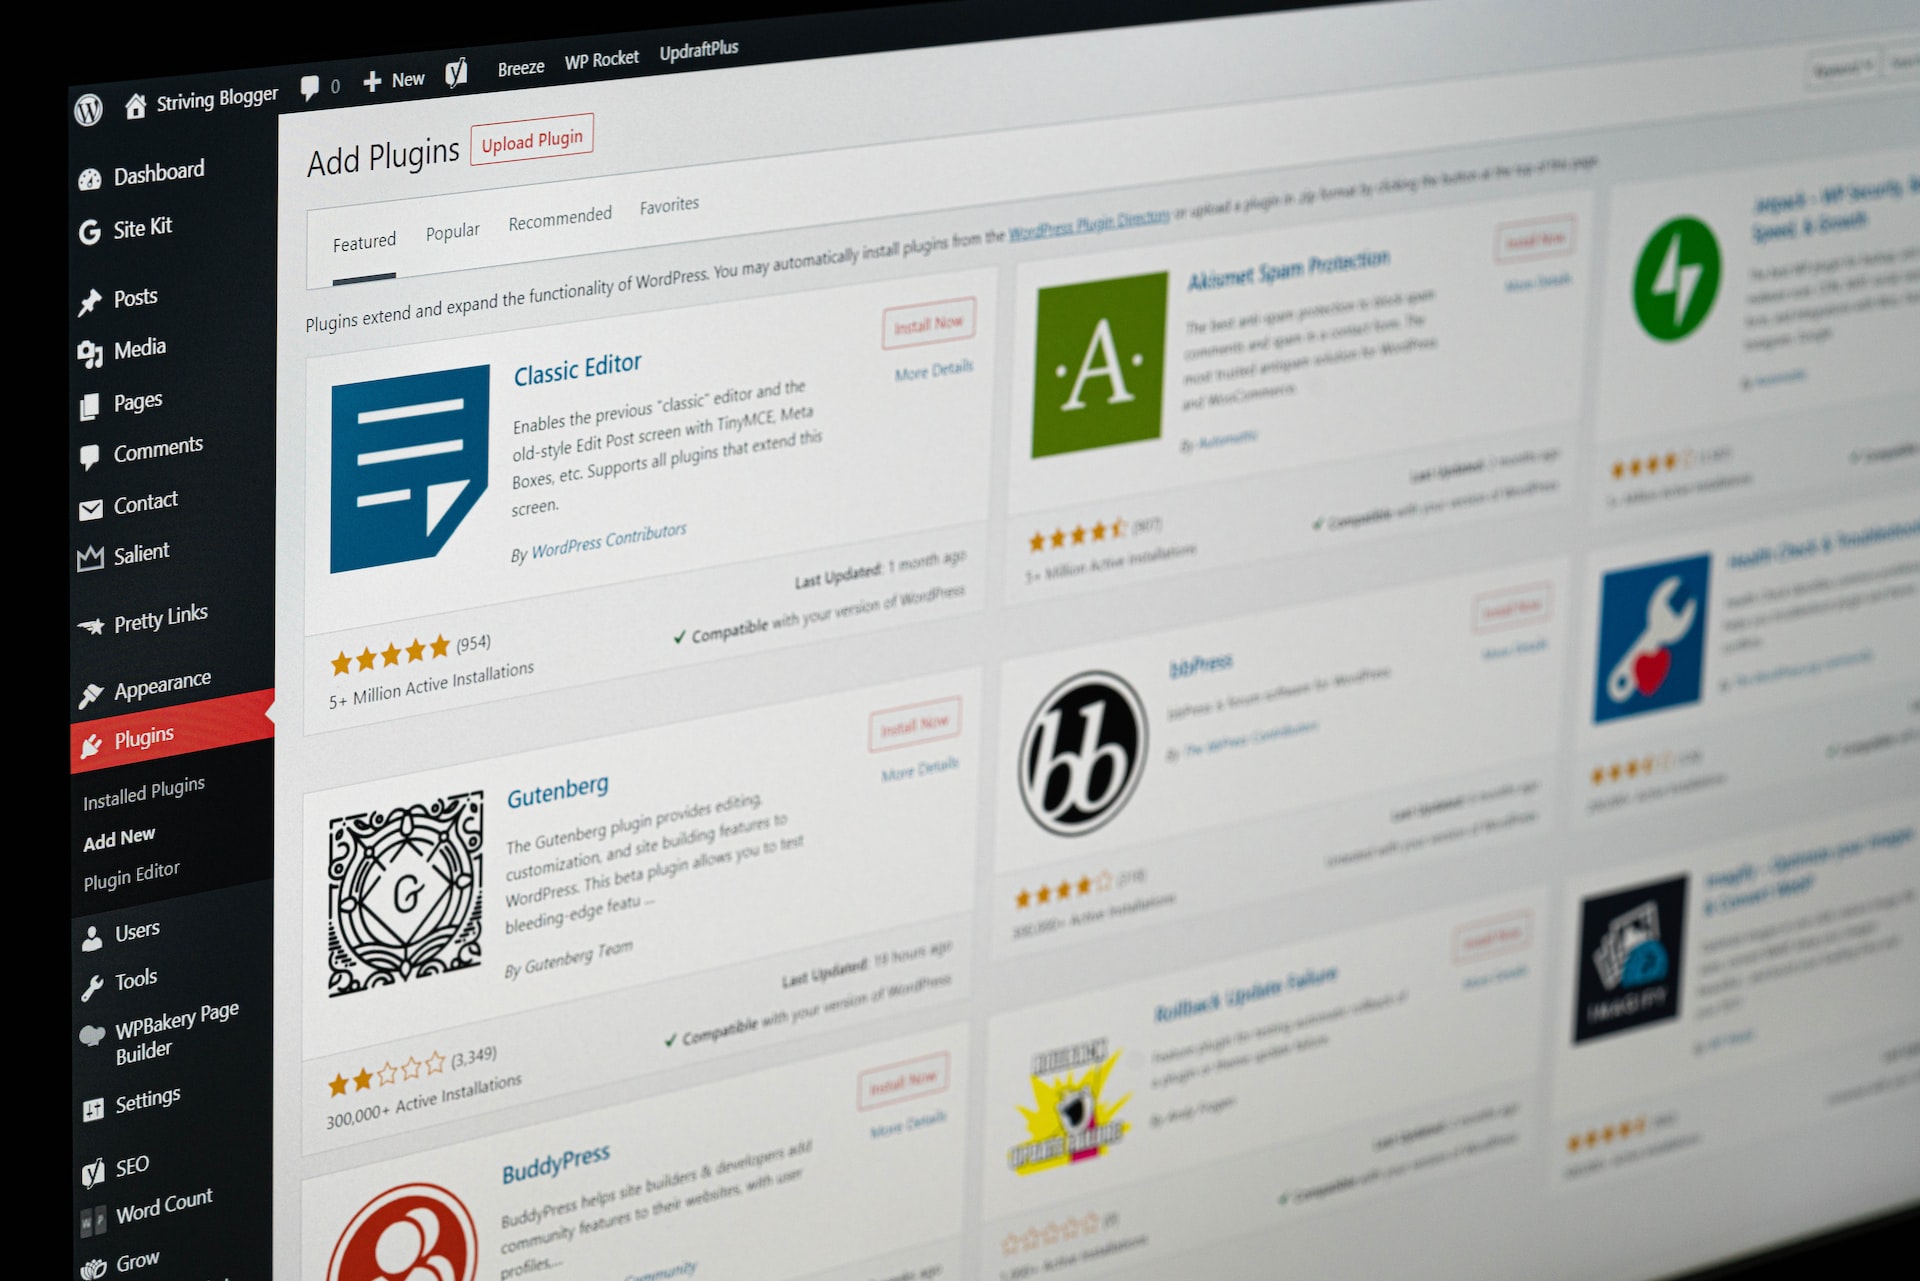
Installing and configuring plugins to add functionality to your website on WordPress is a simple process:
- Go to Plugins > Add New in your WordPress dashboard.
- Search for the plugin you want to install or upload a plugin if you have the plugin’s files.
- Click the “install” button and then the “activate” button to start using the plugin.
- Go to the plugin settings page, usually found under the “Settings” menu or in the plugin’s settings link on the plugin page, to configure the plugin’s options.
- Save the plugin’s settings and check the front end of the website to ensure that the plugin is working as expected.
It’s important to note that not all plugins are compatible with all themes or versions of WordPress, so it’s always a good idea to check the plugin’s compatibility before installing it. Also, some plugins require additional configuration and setup, such as creating API keys, connecting to external services, or configuring advanced options.
It’s also important to keep your plugins updated and to only use plugins from reputable sources, as older versions or untrusted plugins can be vulnerable to security risks.
Common examples of functionality that can be added using plugins include:
- Contact forms
- SEO optimization
- Social media integration
- E-commerce functionality
- Security features
- Analytics and tracking
- Backup and restore
You can also check the plugin’s reviews, active installs and last update date before installing. This will give you an idea of how well the plugin is doing and if it’s still maintained by the developer.
How to create and publish your website’s content
Creating and publishing your website’s content on WordPress is a simple process:
- Go to Pages > Add New or Posts > Add New in your WordPress dashboard to create a new page or post.
- Enter the title of your page or post in the title field and add your content in the content editor. The editor allows you to format your text, insert images, and add other media.
- Use the options in the right sidebar to add a featured image, set a featured post, and add tags and categories.
- Click the “Publish” button to make your page or post live on your website.
- You can also schedule a post to be published at a later date and time, or save it as a draft to come back to later.
- To edit an existing page or post, go to Pages or Posts in the WordPress dashboard, hover over the item you want to edit, and click the “Edit” link.
It’s good to have a clear content strategy and to create quality, relevant, and engaging content that will attract and retain visitors. Also, it’s important to optimize your content for search engines by using keywords, meta tags, and other SEO techniques.
You can also use different types of media such as images, videos, and audio to make your content more engaging and interesting.
Additionally, you can use pages and posts to create different sections on your website, such as an “About Us” page, a “Contact Us” page, a “Blog” section, and many more.
You can also use plugins to create custom post types and custom fields to create different types of content that suit your needs.


